Access to AllStarLink Nodes ("RadioLess") using 'Transceiver' Mac OS App
Overview of the Transceiver Application on Mac Desktop


This blog post covers the Mac OS application called "Transceiver", which is a RadioLess application to connect to AllStarLink nodes.
It is available in the Mac OS application store but unfortunately it is a Paid App, but works quite well on a Mac desktop OS.
Overview
Getting Started
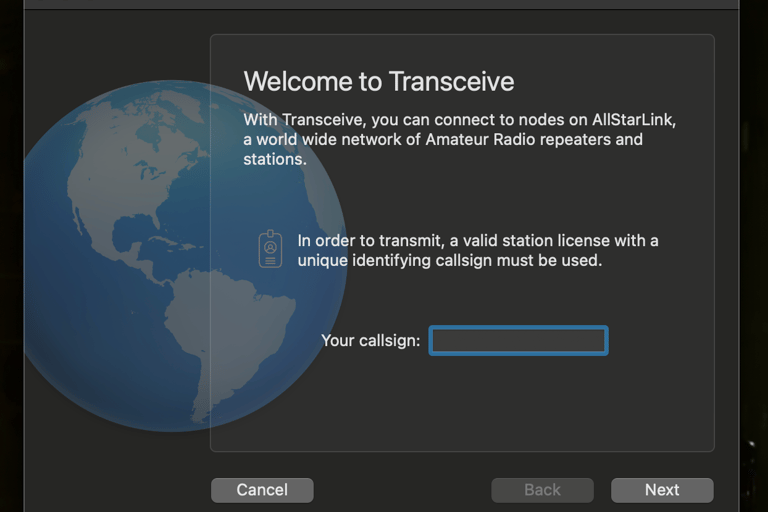
Having purchased the application from the App store and starting it up on the Mac OS the first information to be setup is your callsign which is used to validate the user etc.
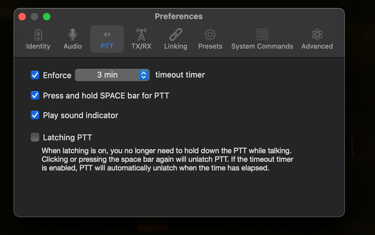
Configuration of your personal preferences
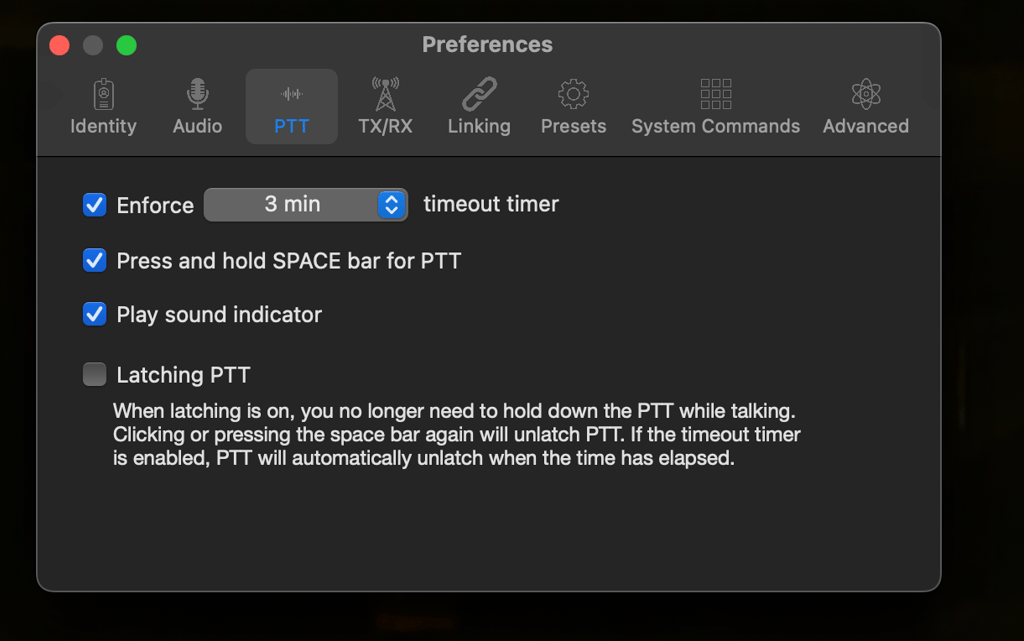
The setup in regard to operation is done using the Preferences option available from the application menu.
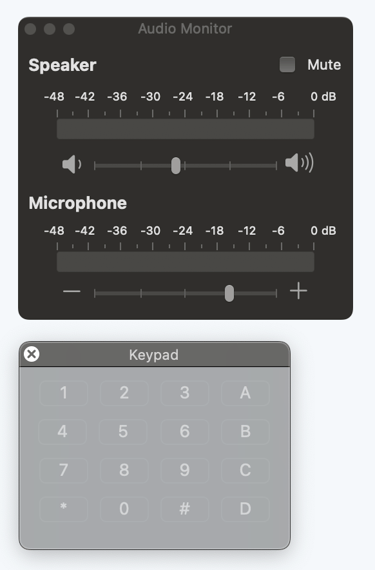
The choice of audio input/out as well as he operation of PTT etc is configured via this preferences panel.


Adding and connecting to AllStarLink nodes
To connect to an AllStarLink node you need to know the node number. This can be found from the AllStarLink directory. Any node with the 'wt' will allow auto authorisation (or should do). Green in the node indicating online etc.
Any node that is not declared in this way you need to know the user and password details to connect to the node.
To add a new connection use the "plus" symbol bottom left. Enter the details for the connection and then the link will be checked.
The colour of the LED on the left should be Green for a good connection, but RED or Amber will indicate there is an issue which needs to be resolved to allow connection.
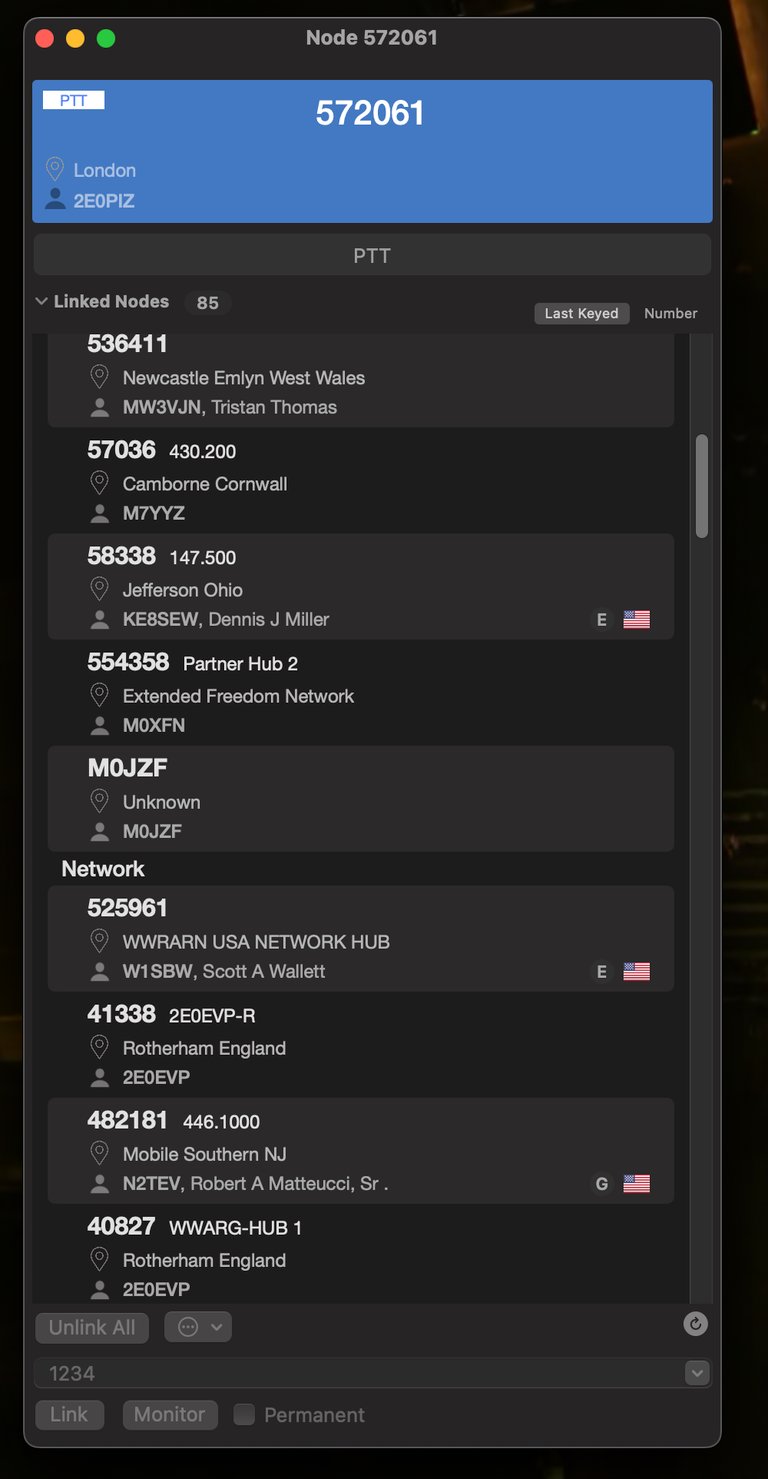
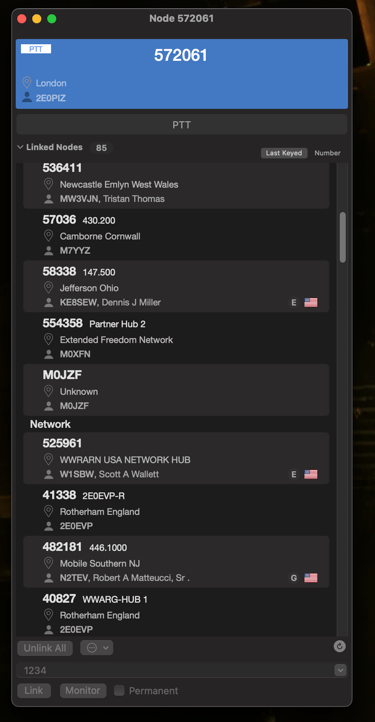
Once connected to a defined node you should see this type of window, which shows the users connected as well as the PTT button (which is also the space bar)